Import Export of Column Master Key using CertMgr
Import Export of Column Master Key is a very critical step if your application is not hosted on the same database server. If not done properly the purpose of configuring Always Encrypted might get defeated. You must plan to keep your Column Master Key away from Database Server. This blog is for those who choose to deploy the Column Master Key in the local store of Windows rather than using Azure Key Vault. We’ll Import Export of Column Master Key using CertMgr.
Import Export of Column Master Key using CertMgr
In order to Import Export of Column Master Key you need to use CertMgr also known as Certificate Manager Tool. Certificate Manager Tool (CertMgr) manages certificates and other related items. It is automatically installed with Visual Studio. You can be started by typing certmgr.msc or Certmgr.exe in command prompt (Run) or loading the required MMC, this is usually found in the Windows System director. This also comes as part of Windows SDK and can be downloaded from here http://go.microsoft.com/fwlink/p/?linkid=84091.
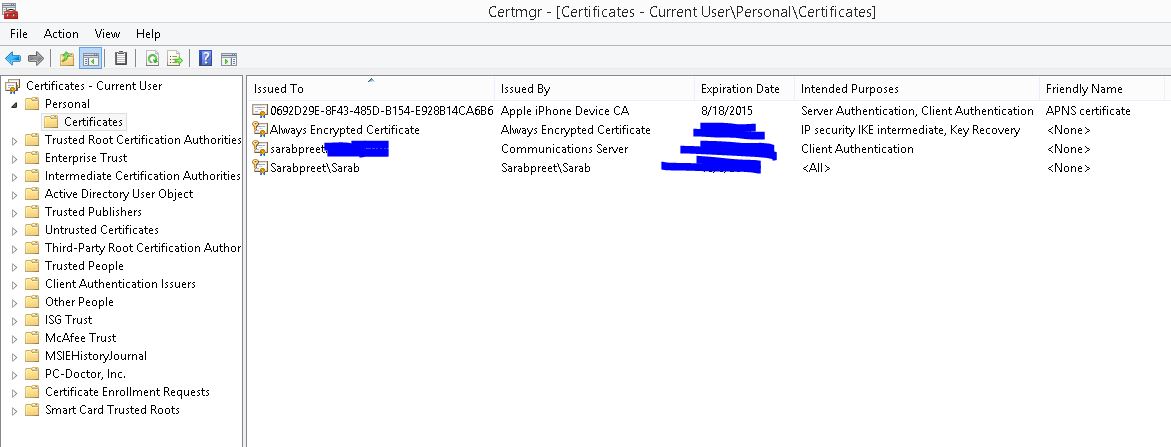
The process to Import Export of Column Master begins here. To start the export process I executed CertMgr.msc from my Laptop. This gives me the screen below. On this screen I started finding my Column Master Key which is saved under Personal Store of Current User certificate store. When doing that I find the following certificate:
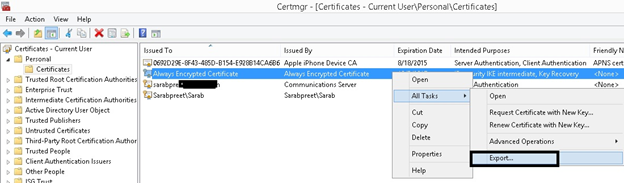
Since now I got the Column Master key, it’s time to export this Certificate to local disk so that I can do Import. To Export, right click after selecting the Always Encrypted Column Master Key and choose Export from the All Tasks menu sub-item. Look at the screenshot below to get more clarity.
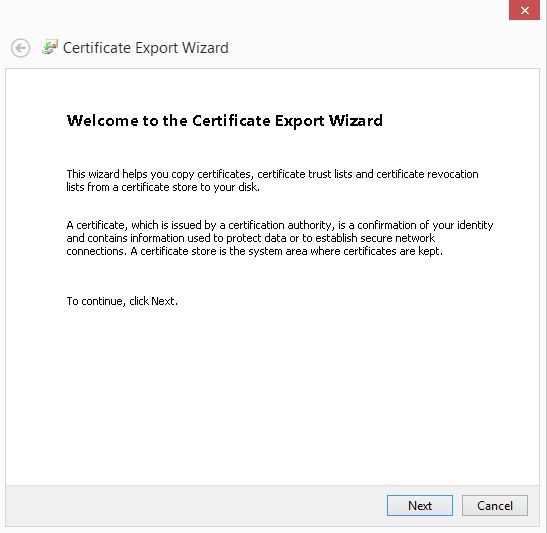
Once Export is selected, this pops out Certificate Export Wizard to help you export the certificate.
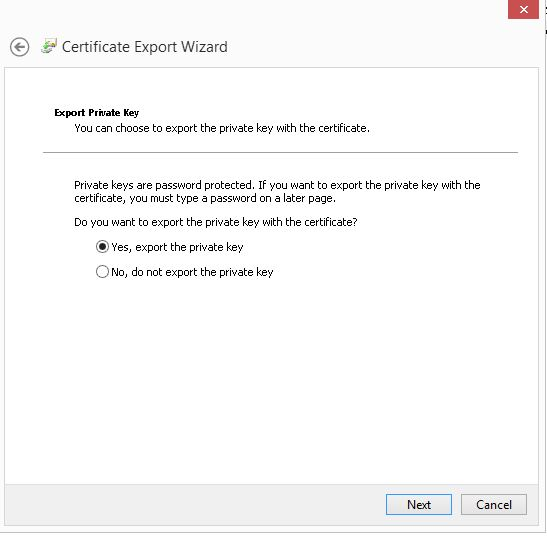
Move to the next step which gives you the option to export private key along with Column Master Key Certificate. Select “Yes” on this screen and more to next step.
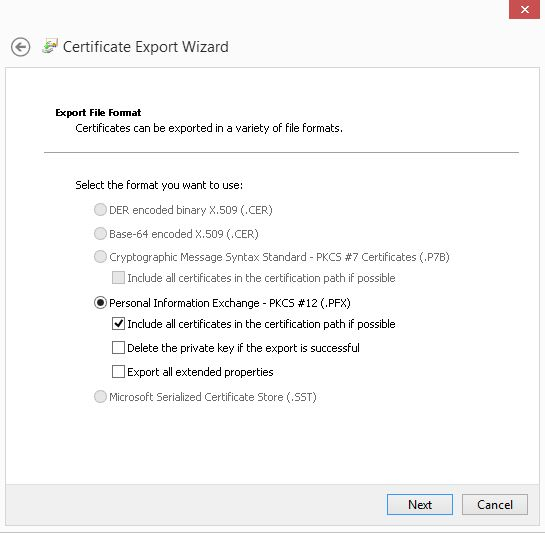
This step gives you option to select the required format of your Column Master Key certificate. Here the default selected option is Personal Information Exchange – PKCS #12 and sub-option as Include all certificates in the certification path if possible. Let’s go-ahead with the same option.
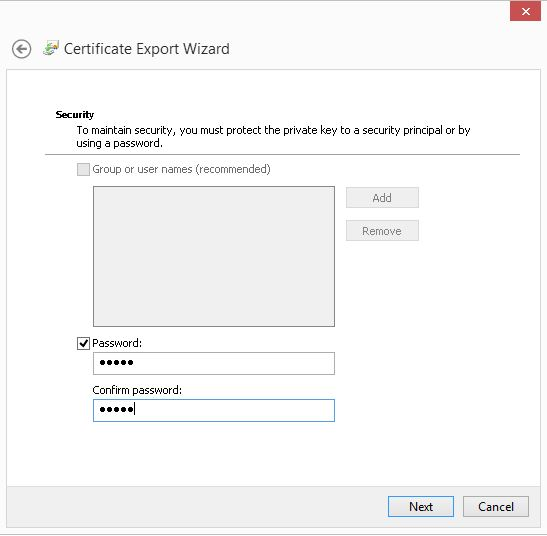
The next step is providing security to your exported certificate so you must provide a password which will be associated with the exported copy of your Column Master Key certificate. Make sure you remember\make a note of this password since it is required while importing your certificate.
Next select the file location of your exported Column Master Key Certificate.

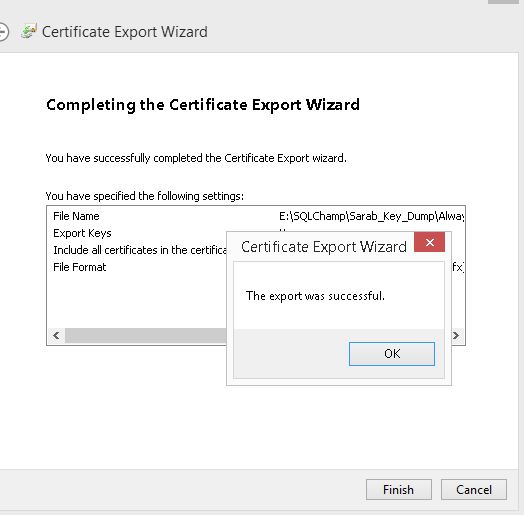
And that’s it, you’ve successfully exported the Column Master Key Certificate.
How to import the Column Master Key.
Copy the Exported copy of your Column Master key Certificate to the server where your application is hosted & need to encrypt and decrypt your Always Encrypted data.
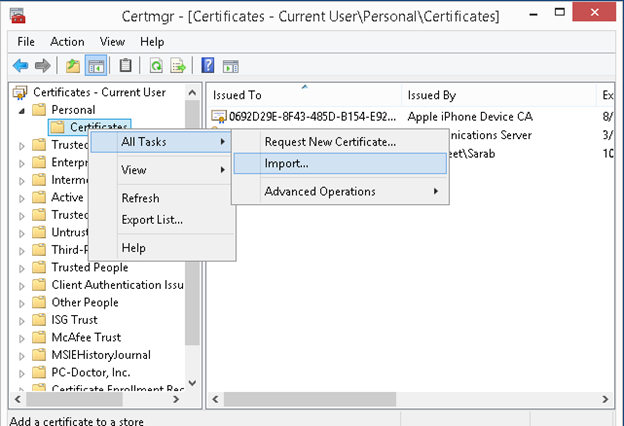
Once the certificate is copied, initiate the Certificate Manager Tool as we did in the beginning and traverse down to the personal store of current user & right click on Personal Folder & select Import from the All Tasks menu:
This pops out the Certificate Import Wizard, click next which takes you to next step which takes the path of the exported Column Master Key Certificate:
Remember the password you provided while exporting the certificate, now the import step will ask the same password, you need to punch-in the same password in order to successfully import the certificate:
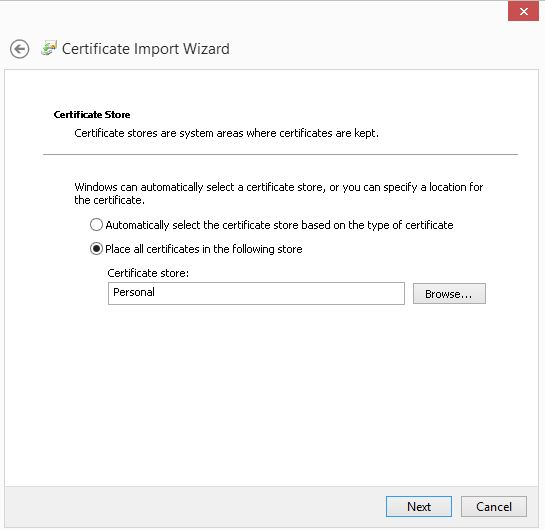
This step will ask you to choose the right certificate store, if you followed exactly how I described the option to change will be grayed out, because we selected Import from the context menu of Personal Store. Just hit next.
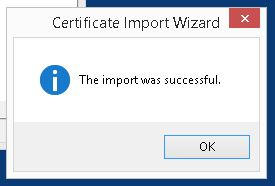
That’s it you’ve successfully imported the Column Master Key Certificate.
Now you are fully equipped with the knowledge to be able to do Import Export of Column Master Key certificate.
Hope you got answer to your questions! Happy Learning!
feel free to leave a comment. 🙂
Thanks,
Sarabpreet Singh Anand
Subscribe now to get latest Tips\blog posts in your Inbox
Follow @SQLChamp
Follow @Sarab_SQLGeek